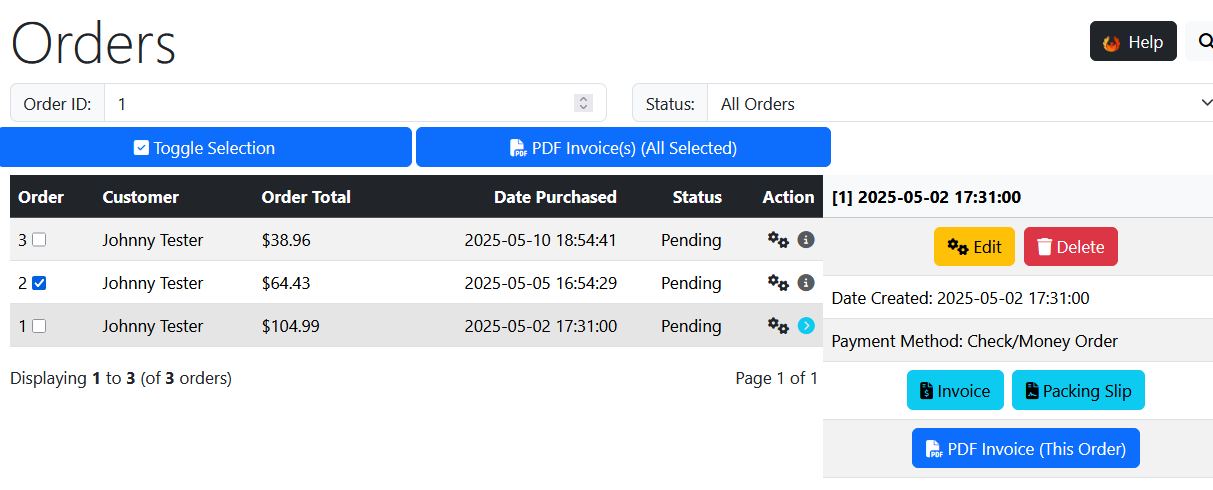
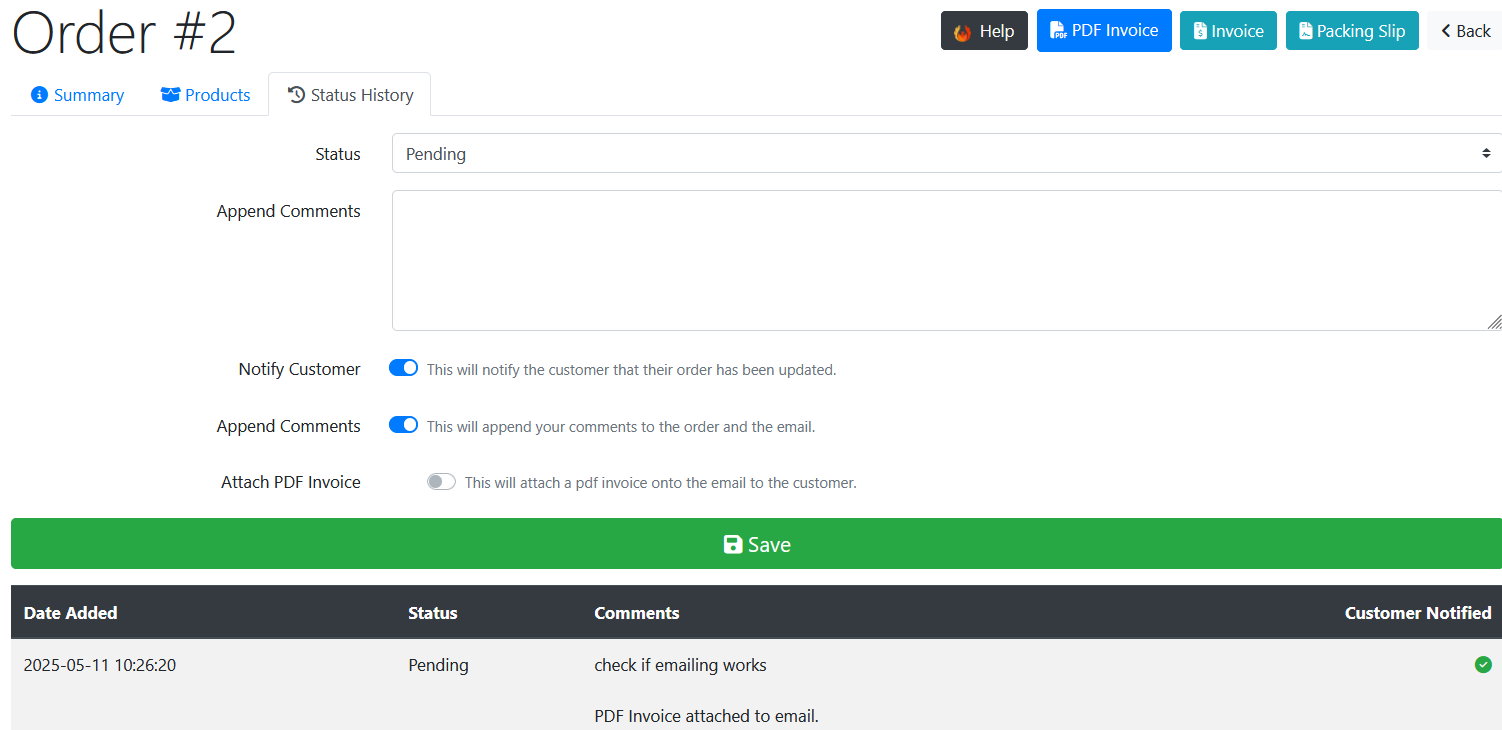
The default settings are a good place to start, so the first thing to do is download a PDF invoice from a typical order. This will give you an idea and if it looks satisfactory, try a more varied batch using the checkboxes on the order list.
It is also important to check that attaching PDFs to emails works, as you may need to go into Admin > Configure > E-Mail Options and change the setting for E-Mail Linefeeds. This is because sending PDF attachments uses Mime emails, and if the Linefeeds setting is wrong, you get a few lines of garbage in the email instead of boundaries between mime sections. There is no need to change the setting Use MIME HTML When Sending Emails - that affects the standard Phoenix emails and not the email with PDF attachment which is forced to Mime. If you already have Use MIME HTML set to True then your Linefeeds should already be correct.
If the design needs changing, now's the time to start working on your template:
- The first step is to make your own copy of the default template. This avoids your changes getting overwritten in a future update. Make a copy of catalog/includes/apps/pdf_generator/templates/invoice/default.php - avoid spaces in the file name and make sure it ends with .php
- Change the module settings:
- Select the file you just created as the template to use (it doesn't show the .php)
- If you already know you need to change other settings such as paper size and orentiation, do it now.
- Set “Show on Screen” to True. This outputs the completed html of your template to the browser instead of sending it to the PDF generator, which is quicker for checking the effect of changes you make. Bear in mind that the output of the generator won't exactly match what you see in the browser (not least because the PDF layout is fixed width) so don't spend a long time tweaking it for the browser. Instead turn off Show on Screen when you're fairly happy it's on the right lines and do the fine-tuning against the PDF.
- Now change the template:
- Fonts: many of the fonts you're used to seeing in the browser are actually system fonts installed on windows or macOS. These are not available on the web server and rather than trying to install the fonts you want the easiest approach is to use google fonts. Your site may already be using google fonts but if not, here's how I found the one that was showing for me in the default Phoenix shop and installed it in the template
- check which of the fonts in the font family you are seeing; use your browser's inspect facility -the details are different in each; one of the family may be underlined (firefox), one indicated in a detail (edge) etc… The font I was seeing was Segui
- I went to google fonts and check the name in their search. There were no results so I did a web search “google fonts like Segui” which gave me a few to choose from. Checking them on google fonts I chose “Noto Sans”
- Copy the font link from google fonts and replace the Noto Sans line in the template
- scroll down near the end of the styles section and replace the font family property in the body tag rule.
- The template layout is done with tables rather than using the detailed css that's used in the shop. This is because many of the modern css features such as flex are not fully or predictably supported in the generator, and there's no need for responsiveness in a fixed width PDF layout.
- Paging between multiple orders in the same document is handled automatically. Orders which are too long to fit on one page are also paged, but the number of lines before a new page is driven by a setting rather than when the page is full. This prevents an order line being split but may need adjusting if the width of order lines varies a lot (e.g. due to opions)