Paypal Checkout User Guide
Paypal Checkout is a normal flow Phoenix payment module using the modern Paypal REST API - not to be confused with the old Paypal Express Checkout.
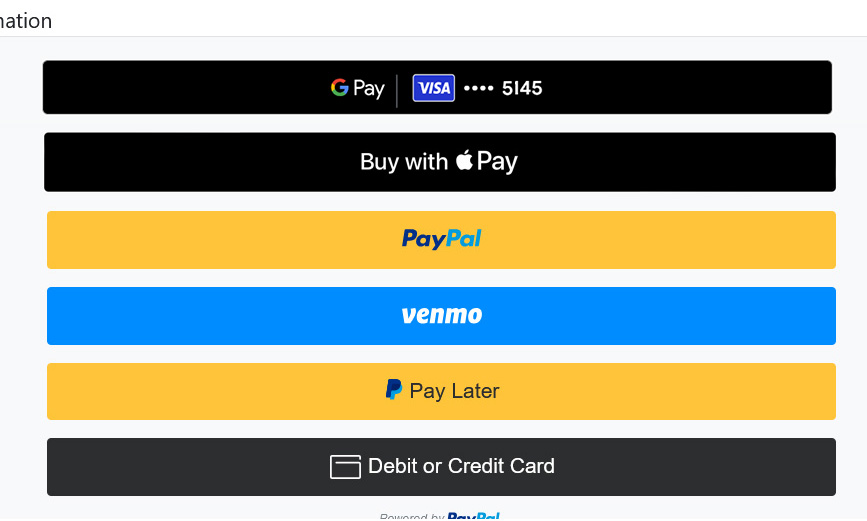
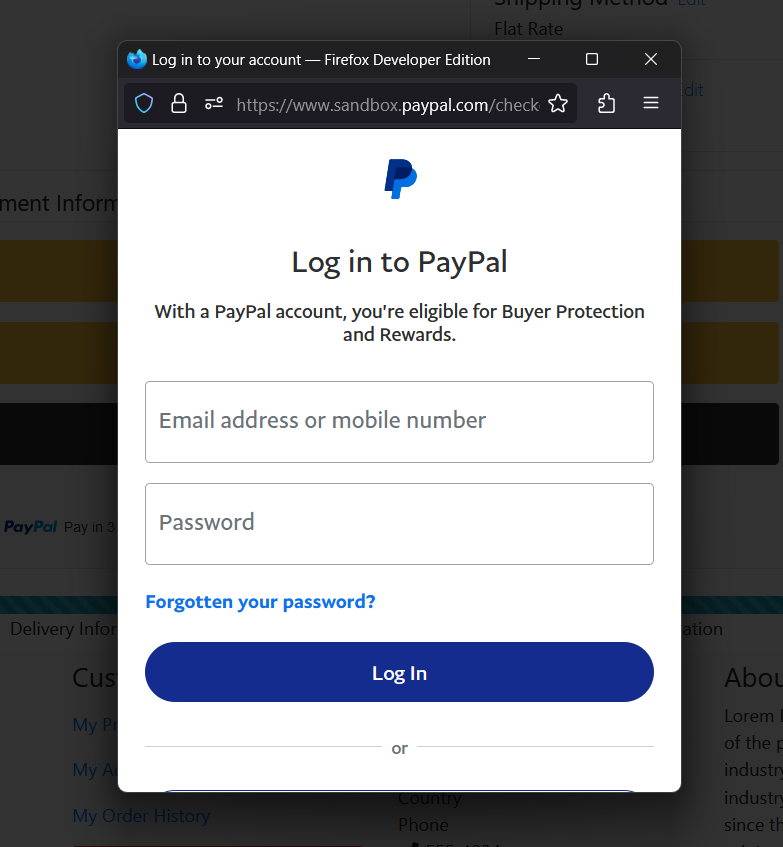
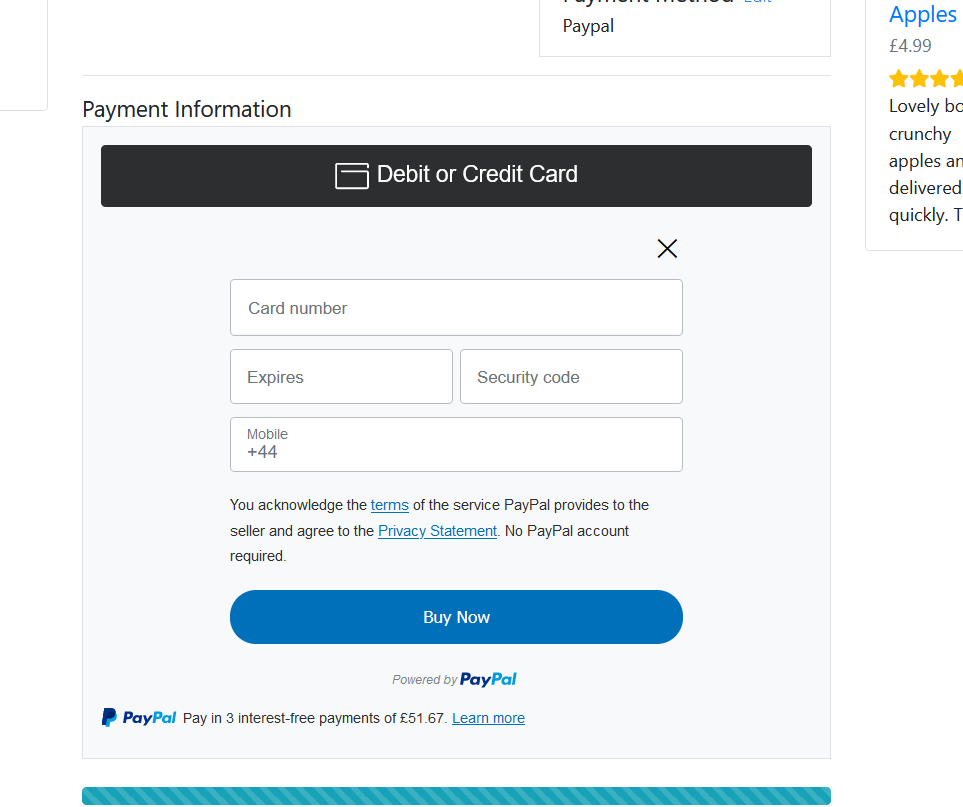
If chosen on the checkout payment page, then Paypal buttons are displayed on the checkout confirmation page offering a choice between immediate payment with a paypal account, paying later with a paypal account (if enabled) and card payment through paypal but without registering a paypal account. An ever-increasing range of further payment methods is available for enabling in admin.
The paypal flow on the checkout confirmation page creates an authorisation which is then confirmed on your server and the order is created (so there are no 'Preparing' orders and no order numbers skipped). Depending on the module settings it may be captured immediately or you may capture manually in admin when you have checked that stock is available.
Your registered webhook receives notifications from paypal on the progress of the payment, and these are written to the order status history so you can see them in admin.
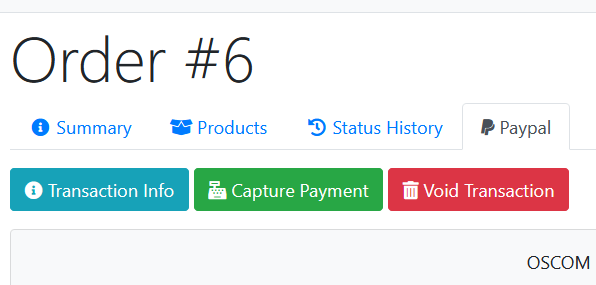
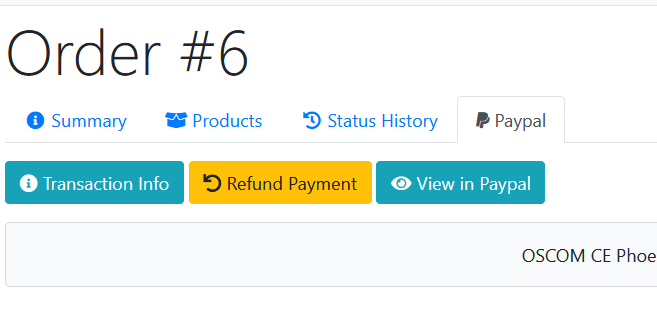
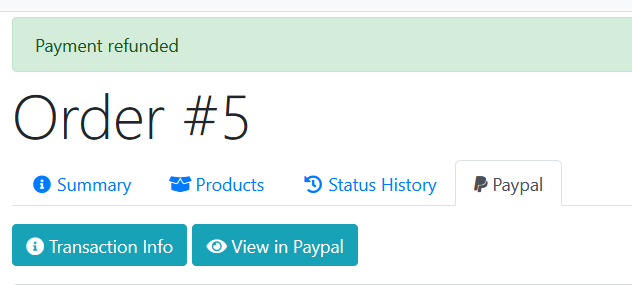
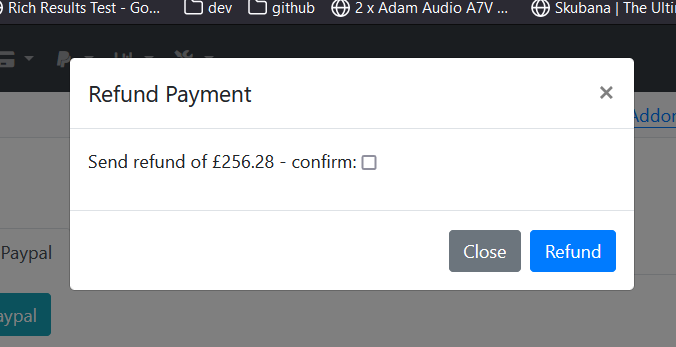
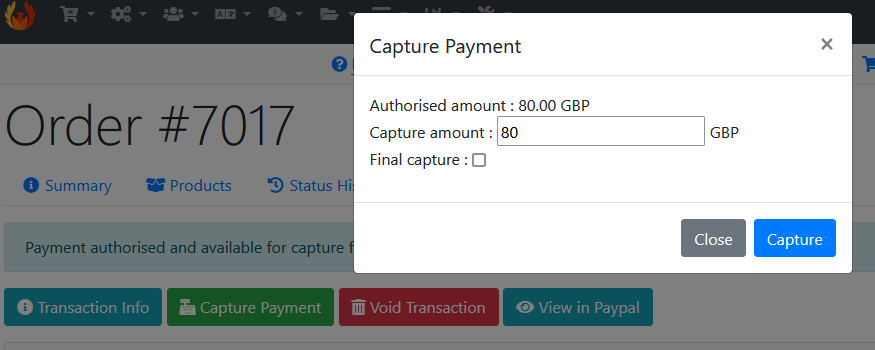
A paypal-specific tab in admin orders provides context-specific buttons to let you capture or void an uncaptured payment, fully refund a captured payment, pull the latest info from paypal and record in the order history, navigate to the transaction record in paypal.
Figuring where in its lifecycle a paypal payment is can be quite complicated (it relies on a combination of data values which may or may not be present) so the module figures out a simplified status - documented below.
Troubleshooting
The most common issues relate to Paypal wanting the order to add up properly in whole pence/cents while the shop software is happy for the each price of products to be fractions of that, and on multicurrency stores the order total is not always exactly the sum of the subtotals. The symptom of this is that the paypal popup when you press one of the payment buttons simply closes itself again. As long as you have set a debug email address you will get a mail every time this happens, so you needn't worry it might be happening to customers without your knowing. There's a lot of logic in the module that should cope with most situations. Make sure you have the setting Override Totals set to True and that any order total modules for additional charges are listed in the Order Total Charges setting. If you have a discount module that affects the orders subtotal, make sure that's in the corresponding setting. The debug emails will tell you the amount of mismatch that's happening which might tell you to increase the Override Limits from 0.01
When the breakdown of the paypal order doesn't add up to its total and the module can't override the difference, the paypal buttons would not work, so the module doesn't display them; instead it displays a message to the customer asking them to try another payment method.
Paylater
There are some gotchas that could lose you a lot of time trying to figure out why the Paylater button or messaging are not showing
- On a test site that's talking to Paypal Sandbox, make sure the country of the sandbox merchant user is set to the country of your Paypal account and that the test user is being shown prices in the matching currency for the country
- If you are trying to test the paylater flow, you'll find that adding a card during the paylater purchase doesn't work and neither do the default cards. Instead add a debit card for the sandbox user. Here are instructions that work in the UK:
- go to https://bincheck.io/credit-card-generator and put in bin pattern “465858”. This will generate a card for you that you can link to the sandbox buyer (personal) account.
- go to the sandbox dashboard of the buyer account and there will be an option to “Link card or bank account” on the right side. Click this and add the card here
- In your live site, the paylater messaging on the product pages will not appear if you have any other sites connected to your Paypal account that are still using the old web payments integration - in fact it does not appear until 10 days after the last use of the old API
Signing up to Paypal Advanced Payments
This is not a module thing, it's in your Paypal account. Since you are now using the modern REST API, you can sign up to Paypal Advanced Payments for lower fees. Check the fee rates before signing up and then:
Setting Up Apple Pay Through Paypal
There is more to do than switching it on in the module! Setup for testing Apple Pay with Paypal sandbox is possible but a rigmarole (and costly) - see below. I just test a low value order in live mode.
I have not proved it but I don't believe you can set up Apple Pay through Paypal on the same domain as through another module (e.g. Stripe) because they need a different domain association file.
Apple Pay Setup for Live
Download the domain association file for your live environment:
1. Log into Paypal and go to the developer dashboard ( https://developer.paypal.com/dashboard )
2. Make sure the toggle switch is set to Live
3. Use this link to download:
https://developer.paypal.com/docs/checkout/apm/apple-pay#download-host
4. Upload to [domain or subdomain]/.well-known/ even if your shop is in a lower level directory
5. In your developer dashboard, go to the app you are using for the site and scroll down to the Features section and make sure Advanced Credit and Debit Card Payments and underneath that Apple Pay are selected. If you needed to change anything, press Save Changes. You may find you need to request it from Paypal; in my experience this happens automatically straight away.
6. Click on manage underneath Apple Pay (it works even if the option is greyed). Fill in your domain or subdomain and press Register Domain.
Apple Pay Setup for Sandbox
1. Download the sandbox domain association file https://paypalobjects.com/devdoc/apple-pay/sandbox/apple-developer-merchantid-domain-association
2. Upload to [domain or subdomain]/.well-known/ even if your shop is in a lower level directory
3. Go to your Paypal Developer Dashboard, make sure the toggle at the top is set to Sandbox, go to API Credentials and click on the app you are using for testing
4. In the app details, scroll down to the Features section and make sure Advanced Credit and Debit Card Payments and underneath that Apple Pay are selected. If you needed to change anything, press Save Changes
5. Click on manage underneath Apple Pay (it works even if the option is greyed). Fill in your domain or subdomain and press Register Domain.
6. If you don't already have one, create an Apple developer account at https://developer.apple.com This will cost you 79GBP / year at the time of writing
7. If you don't already have one, create an Apple sandbox account at https://developer.apple.com/apple-pay/sandbox-testing/
Google Pay Setup
This is simpler than Apple Pay and the same for Sandbox and Live - just make sure the right one is selected in your developer dashboard.
1. Go to your Paypal Developer Dashboard, make sure the toggle switch is set to the right environment, go to API Credentials and select the app you are using for the site.
2. In the app details, scroll down to the Features Section and make sure Google Pay is selected. If you had to change it, press Save.
However, if you are trying to test using a merchant account that was created via sandbox.paypal.com (as opposed to having been created in your developer account) you may find that Google Pay isn't automatically available. In this case, follow this link to onboard your sandbox account with Google Pay
Payment Module Settings
Transaction Method:
- Authorize: authorise only until captured manually in admin (or voided). You can't use this with additional payment methods like Apple Pay, Google Pay and so on
- Capture (default): automatically capture in checkout_process after creating the order in the shop and recording the order id in paypal
Offer Paylater:
- True (default): offer paylater button
- False: don't offer paylater button and prevent messaging modules from displaying if enabled
Show Card Button:
- True (default): offer card payment button
- False: don't offer button for paying directly by card without using a paypal account
Offer Venmo
Only available to US customers of US merchants (otherwise it won't display)
- True: offer venmo button
- False (default): don't offer venmo button
Offer Apple Pay
Only turn on Apple Pay if you have done the setup and tested it, otherwise your customers may be displayed a button that doesn't work.
- True: offer Apple Pay button
- False (default): don't offer Apple Pay button
Offer Google Pay
Only turn on Google Pay if you have done the setup and tested it, otherwise your customers may be displayed a button that doesn't work.
- True: offer Google Pay button
- False (default): don't offer Google Pay button
Instant Payments Only:
- True: sets the API flag to prevent people paying with bank transfers (eCheques) - which are not supported in sandbox
- False (default): leaves this as the setting in your paypal account
Check Seller Protection:
- True: if a captured payment is not eligible for seller protection, the order is put into the manual check status rather than the new order status
- False (default): captured orders go to the new order status whether eligible for seller protection or not
Override Paypal Brand:
- If set, this is used on your customers transaction record instead of the name of your paypal account. This can make it easier for them to recognise the transaction, especially where you have more than one site linked to the same paypal account.
Confirmation Class:
- The module hides the usual confirmation button on the checkout confirmation page. This setting is the class used to identify the button, in a default installation it's ‘btn-sucess’ but you might have changed this to modify the button's appearance. If you have given it a different class, set that here.
MATC Id:
- Must Accept Terms & Conditions - if you have a checkbox on the confirmation page that must be checked, put its id here so that the module won't confirm if it isn't checked
Order Total Charges:
- Any non-standard order total modules are assumed to be discounts unless listed here (code not filename). This is because although discount modules always reduce the order total they sometimes show the amount as a positive number. Paypal needs an order breakdown and rejects orders that don't add up to the total payment you're requesting. There is no harm in leaving modules that aren't installed in this setting.
Subtotal Discount Modules:
- Typically, discount modules are shown in the order after the products are tallied and only affect the order total, not the products subtotal. Add any discount modules that reduce the products subtotal here (code not filename). Paypal needs an order breakdown and rejects orders that don't add up to the total payment you're requesting.
Override Totals:
- Set to True if you are getting total mismatches and the module will adjust the order value and subtotals so that it's acceptable to Paypal
Override Limits:
- When overriding is set to True it will only be done within this limit. You may need to increase by a few pence/cents.
Override Emails:
- You always get a debug email if the order doesn't add up and the customer can't complete checkout. This setting controls whether you get emails when the module adjusts the order amount.
Bypass Module Order Creation:
- Under normal use, the module creates an order within its processing, updates paypal to record the order number and then captures / authorises the paypal payment before sending the confirmation email. If the core order creation and email confirmation processing has been heavily customised and you don't want to reflect this in the paypal module too, you can change this to True and the module will capture / authorise the payment before order creation which means paypal will not get updated with the order number. This will not impede normal functioning of the module because the paypal payment reference is recorded on the site order and that is used in the webhook to find the order relating to a notification but reduces the information available for investigation in the event of an anomaly like a payment on Paypal with no obvious matching order.
Logging:
- Paypal SDK Debug: this is here for completeness but it's only useful for javascript debugging if you are getting really strange errors on checkout confirmation. It downloads a much bigger debug version of the paypal SDK which can delay the page load on checkout confirmation by several seconds. You are unlikely ever to need it and DO NOT LEAVE TURNED ON IF YOUR SITE IS LIVE.
- Debug Logging: writes debug info to your error log file. You can leave this on for a while if you're trying to figure out some error but it writes a lot of info so pretty soon the log file will get large. Don't forget to turn off when everything is working and don't leave it on 'just in case'.
Debug E-mail Address:
- Set an email address here so you know when weird stuff is happening
Order Statuses
- The module creates some of its own order statuses to map the progress of orders through paypal
- Set Order Status: defaults to the site default for newly placed orders. If you want something different, you'll need to create it and assign here
- Transactions Order Status Level: defaults to Paypal [Transactions]. The status allocated to history records about your paypal transaction, not normally applied to an order.
- Authorized Payment Status: allocated to newly created orders before they are captured
- Transaction Voided Status: allocated by default to orders whose payment you have voided in admin. If you only do this when you cancel orders you might change this setting to the Cancelled status
- Authorization Expired Status: if an authorization is not captured before expiry, the payment information is deleted from paypal. This status is not currently set automatically but support may be added for this and for easily making a further payment request
- Manual Check Payment Status: allocated to newly created orders when the amount returned from paypal does not match the shop order value
- Clearing Payment Status: allocated when a captured payment does not clear instantly (e.g. an eCheque)
- Refunded Payment Status: allocated to orders when you perform a refund in admin
Order / Payment Lifecycle Reference
| | Authorise Only | Immediate Capture |
| | Overall Paypal Status | Store Order Status | Overall Paypal Status | Store Order Status |
| checkout confirmation: buyer presses a paypal button, successfully completes dialogue, sees processing overlay | APPROVED | not applicable | APPROVED | not applicable |
| checkout process (on the way to checkout success): order created, paypal order authorised/captured | APPROVED | Authorised [Paypal Checkout] | APPROVED | Authorised [Paypal Checkout] |
| AUTHORIZED | Authorised [Paypal Checkout] | CAPTURED | e.g. Pending |
| admin > orders > edit > capture | PART_CAPTURED | e.g. Pending | | |
| CAPTURED | e.g. Pending | | |
| admin > orders > edit > void | not found | Transn Voided [Paypal Checkout] | | |
| in paypal - not available in admin | PART_REFUNDED | no change | | |
| admin > orders > edit > refund | REFUNDED | Refunded [Paypal Checkout] | REFUNDED | Refunded [Paypal Checkout] |
To Give Access To Your Paypal Account
If you need me to do something in your paypal account, here's how to give me access only to the stuff that's relevant for trouble shooting your integration. You need to create a User for me on the account and then give permission for access to the developer things, as follows:
- Go to Account Settings (on the menu when you put the mouse over your name on top right of paypal top blue bar)
- Choose Account access (top of Account & Security at top of settings menu on left)
- Manage Users option in Account access - click Update
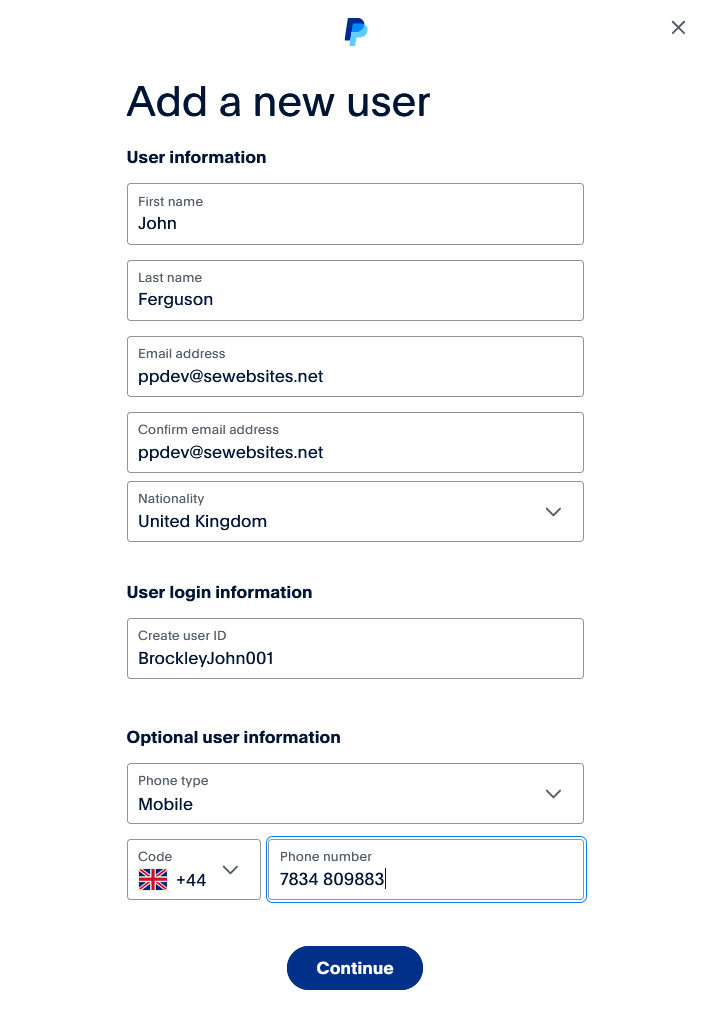
- Add User, use the details from this image - the user ID must be new and unique so if it complains, change the number on the end
- On the next page, tick Access APIs and developer support site. Do not give unnecessary permissions and DO NOT tick All permissions, the one you want is right underneath!
- Paypal sends me an email to set a password